
Today, I am sharing how I deliver my sessions and images to my clients after their session. In the digital age, there are many options for photographers to deliver their sessions to their clients almost instantly. Before digital links, I used to burn a DVD with my clients images on it. Then, I would go to the post office and snail mail that disc to them. This total process would take 3-4 days until my clients would receive their images. While this doesn’t seem all that horrible, today’s world loves the idea of getting anything right away! (Come on, we ALL know we are guilty of this! What happens if Netflix takes more than 5 seconds to load?? haha) Luckily, DVDs are in the past and downloadable links are the future!
The main reason I chose PASS, a free years ago, to deliver my sessions was their “free for albums under 100 images” feature. This was perfect for me because most of my sessions were just that, under 100 images. However, the more I used PASS, it was getting confusing because I was sending different links for each session, instead of one per client. So I bit the bullet and started using one link for each First Year Experience. Yes, this was no longer free for me, but I knew it was better for my clients!
Fast forward a few years and PASS has evolved to make delivering sessions even easier! Now, each link is good for 10 WHOLE YEARS! I absolutely LOVE this feature. With their unlimited downloads, I no longer have to worry about client’s loosing their images. I still HIGHLY recommend downloading your whole session and saving to a USB, but 10 years is a long time and is definitely a reason to consider PASS over its competition.
Now, that I have explained why I use PASS, I am going to walk you through how to use it after your HMP session. My turnaround time is about 2 weeks for all sessions, except newborns, which can take up to 3 weeks. Once I am done editing your images, I will uploading to my PASS program. When this is complete, you will receive an email with the link and instructions.
I highly suggest adding noreply@pass.us to your email contacts to ensure this email does not go into your junk/spam folder!
Your email will look similar to this and the “view photos” button will direct you straight to your link & images!

Once you click the view photos button from your email, a new tab will open and this is what the home screen will look like!

From this screen, you will be able to:
- Enter your full gallery
- View my website, Facebook, Twitter and Instagram
But, I know you are super excited to view your images, so we are going “Enter the Gallery!”
The first screen you will see will be a folder labeled, “Heather’s Faves.” If you choose to do more than one session with me, you will see the highlights from all of our sessions in one spot.

When you click the MENU tab in the top left corner, you will see all the folders associated with this link. I create one link for an entire First Year Experience. So, all the images from the Maternity to the Birthday are under one easy to access link! No more multiple links for one baby!

Also under the Menu tab, you will see the options to:
- Download all your photos
- View your favorites
- View your shopping cart
- Sign the guestbook
How to download your files
I know you are super excited to receive your images back that the first thing you are going to want to do is download your images!! You will receive the high resolution files from this link. They come unwatermarked and ready for you to share and print! Once you choose to download your files, you will first be asked to Sign In. There multiple ways to create an account and it does not matter which option you choose!  Once you are all signed in, you will be able to download all your images. If you clicked the download button from the menu tab, you will see the option to download all. If you want to download only one image, I will explain that a little later. I highly recommend downloading ALL your images as soon as you receive your link. I also recommend saving your images onto an external hard drive or USB, just for safe keeping! These are your precious memories and I suggest treating them as if they are the only negatives of your session!

When you click download all, you will given the option to select which folder you want to download. This way, you don’t have to worry about duplicate images on your computer. You will be able to download just the new images from your latest session!

Your images will download as a ZIP file, so once the download is complete just double click the ZIP file and all your images should appear!
How to favorite your images
Another awesome feature of PASS is the ability to ‘favorite’ the images you love the most. This is great when you order an album because I am able to see which images you love the most and I will use those in your album. As you scroll through your images, you will notice a shopping cart and a heart of each individual image. To save a particular image as your favorite, just select the heart! All your favorites will be saved under a different folder and they will also show up with a little heart tab when looking through all your images!


How to print your images
While the digital age is fantastic is so many ways, its greatest downfall is the lack of printing. Nowadays, we are so quick to share our images on social media, but we forget to print our memories! This is another reason why I love PASS! There is a professional lab hooked up right in your gallery! You are able to print up to 11×14 without an order form from me! To order your prints, click the shopping cart icon on the image you want.
From there you will be shown the size and prices available. Click the “+” tab to add however many prints you want of that certain image! 
For any images other than 4×6 and wallets, a crop option will show up. Some of the original image may be cropped out of these sizes and you will be asked to approve what area you want to print. Just move the square to what you want your image to look like. If you are having ANY issues, please contact me and I can help!

You are not required to use the professional lab to print your images. I do allow you to print your images wherever you choose, mostly because it is too hard to police all the drug store chains. HOWEVER, I do not guarantee the quality if you print from anyone other than my professional lab. Most drug stores’ color and quality are not monitored and can reflect differently than I originally intended.
Now you are ready to download, print and share your next session! If for any reason you are having issues with your link, please do not hesitate to contact me!
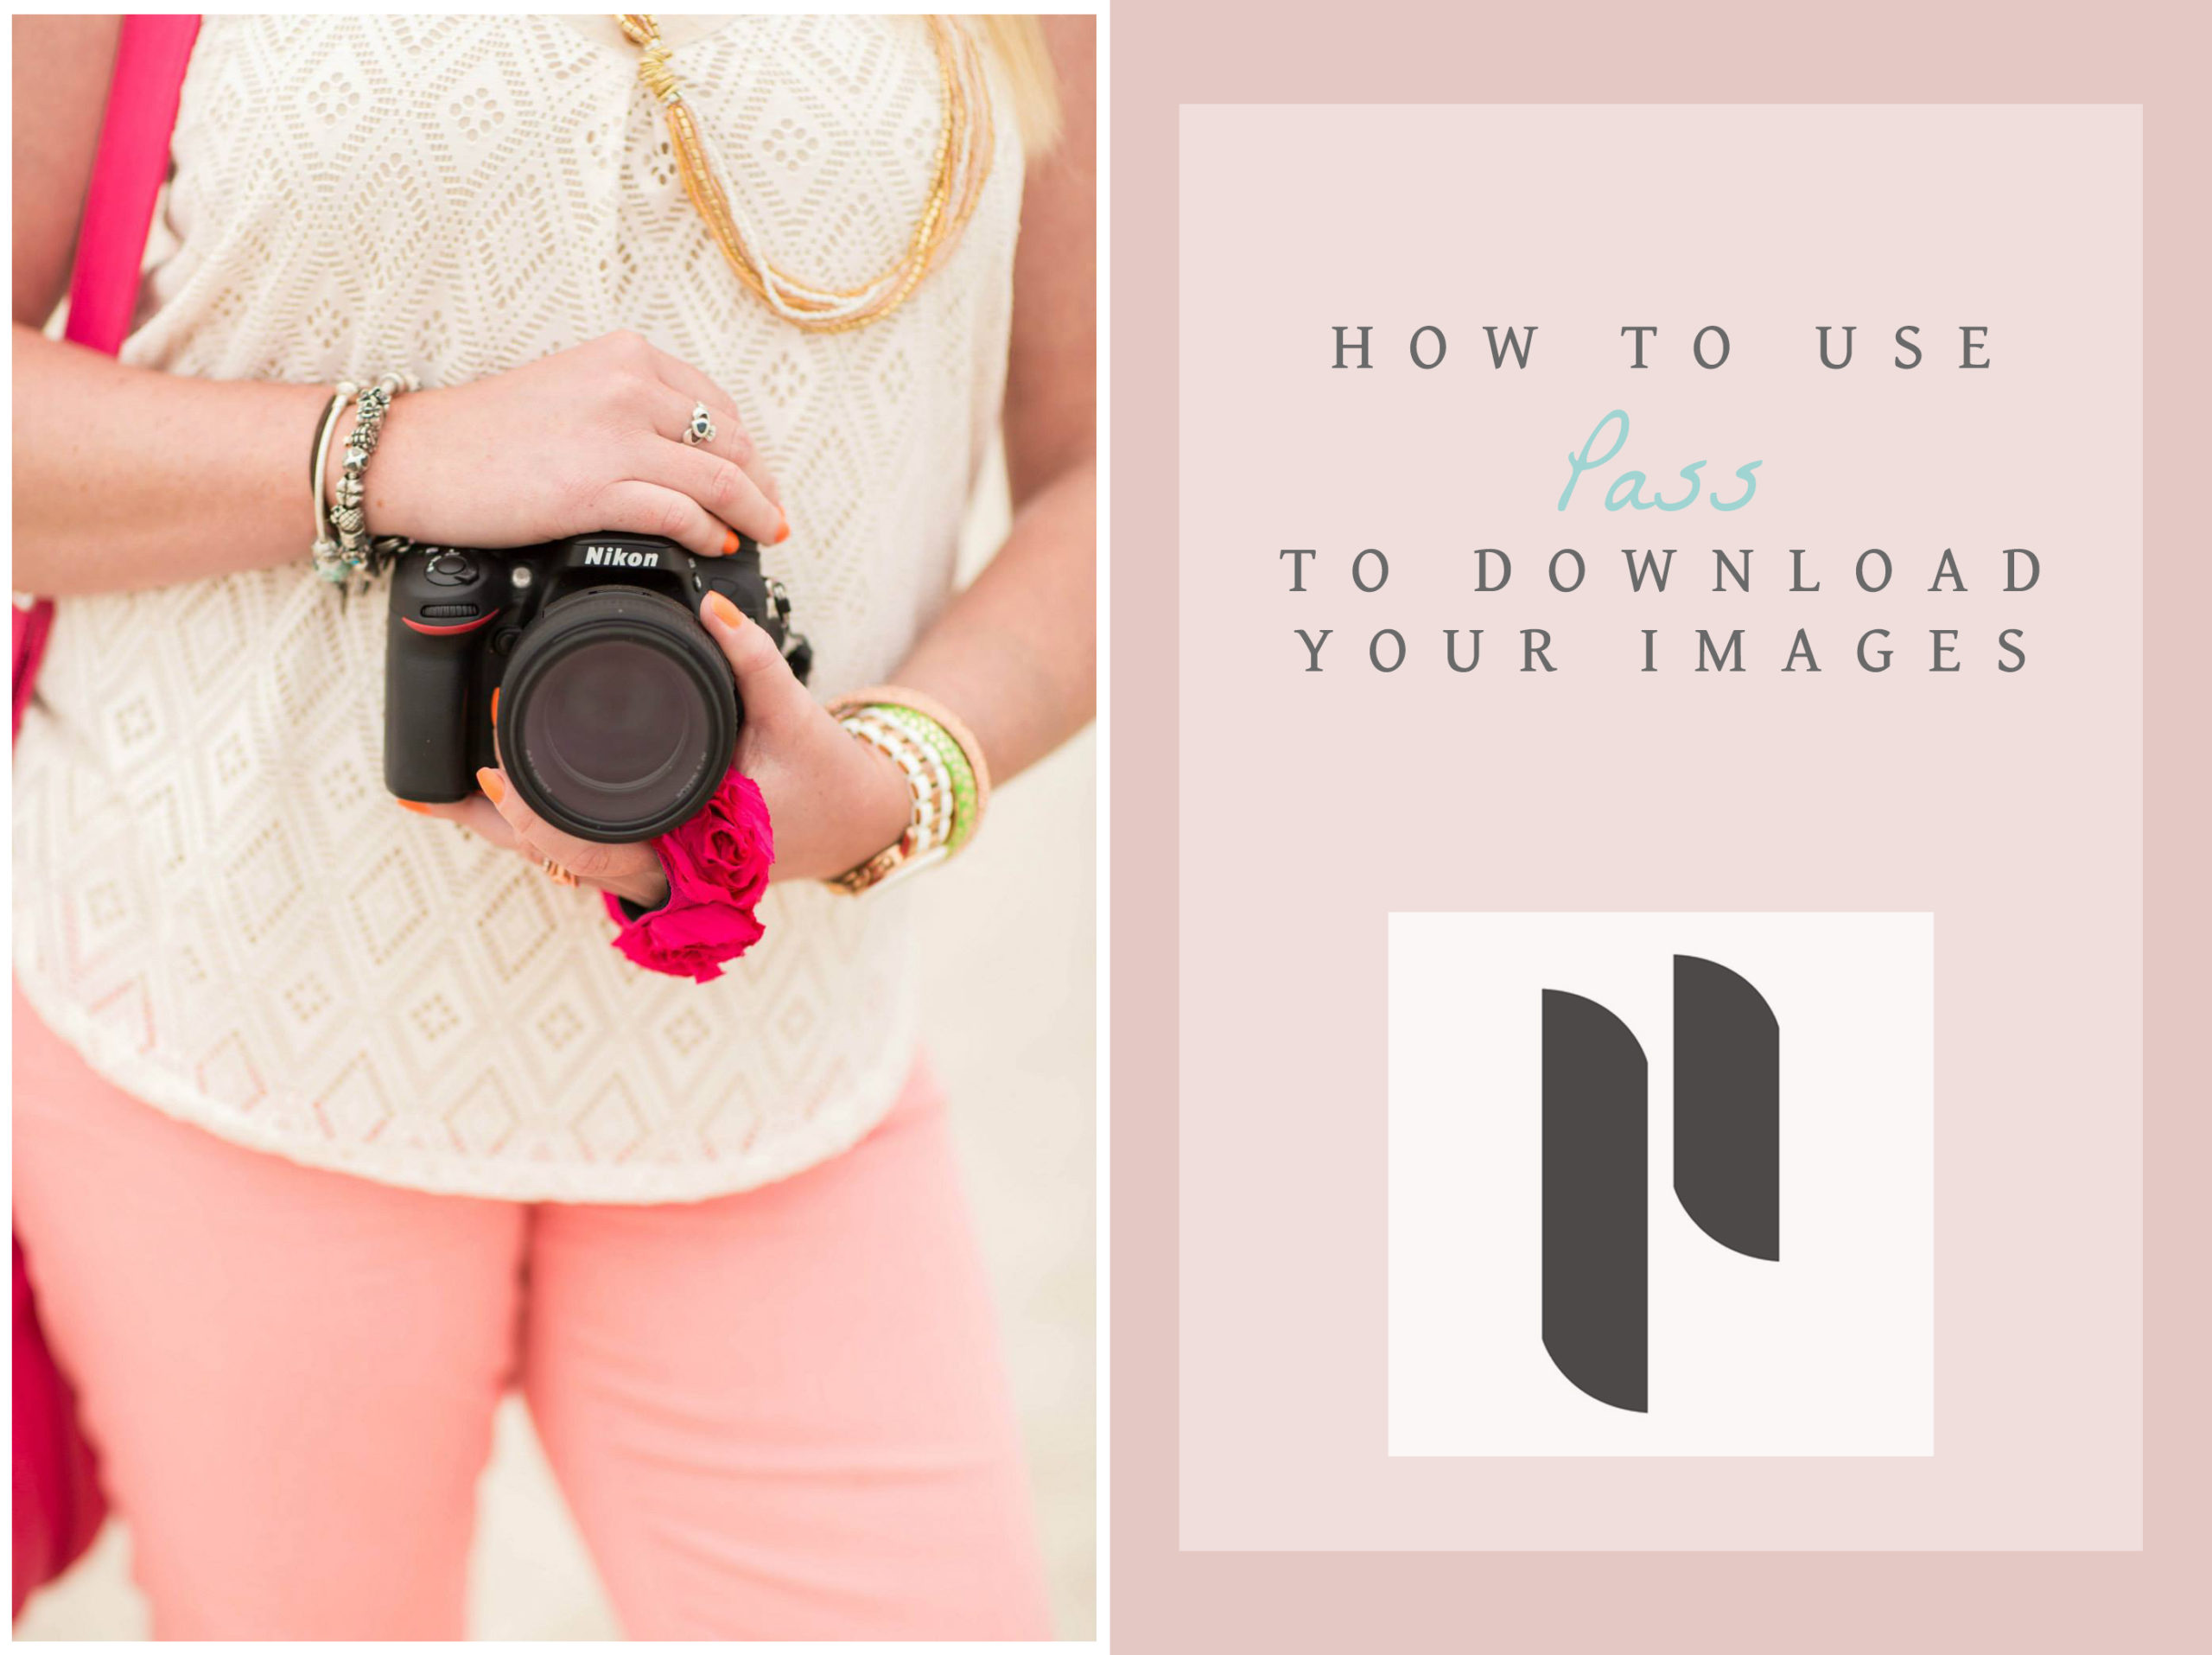
If you are a photographer trying to decide how you want to share your images, you can check out PASS here!


leave a comment
share
share
share
share
share